
GLIDR offers several tiers (opens in new tab), allowing you to choose an option that suits your needs. The platform is designed to be as scalable as your project, so as you grow, you can upgrade to add additional features, users, and Projects.
Selecting a Tier
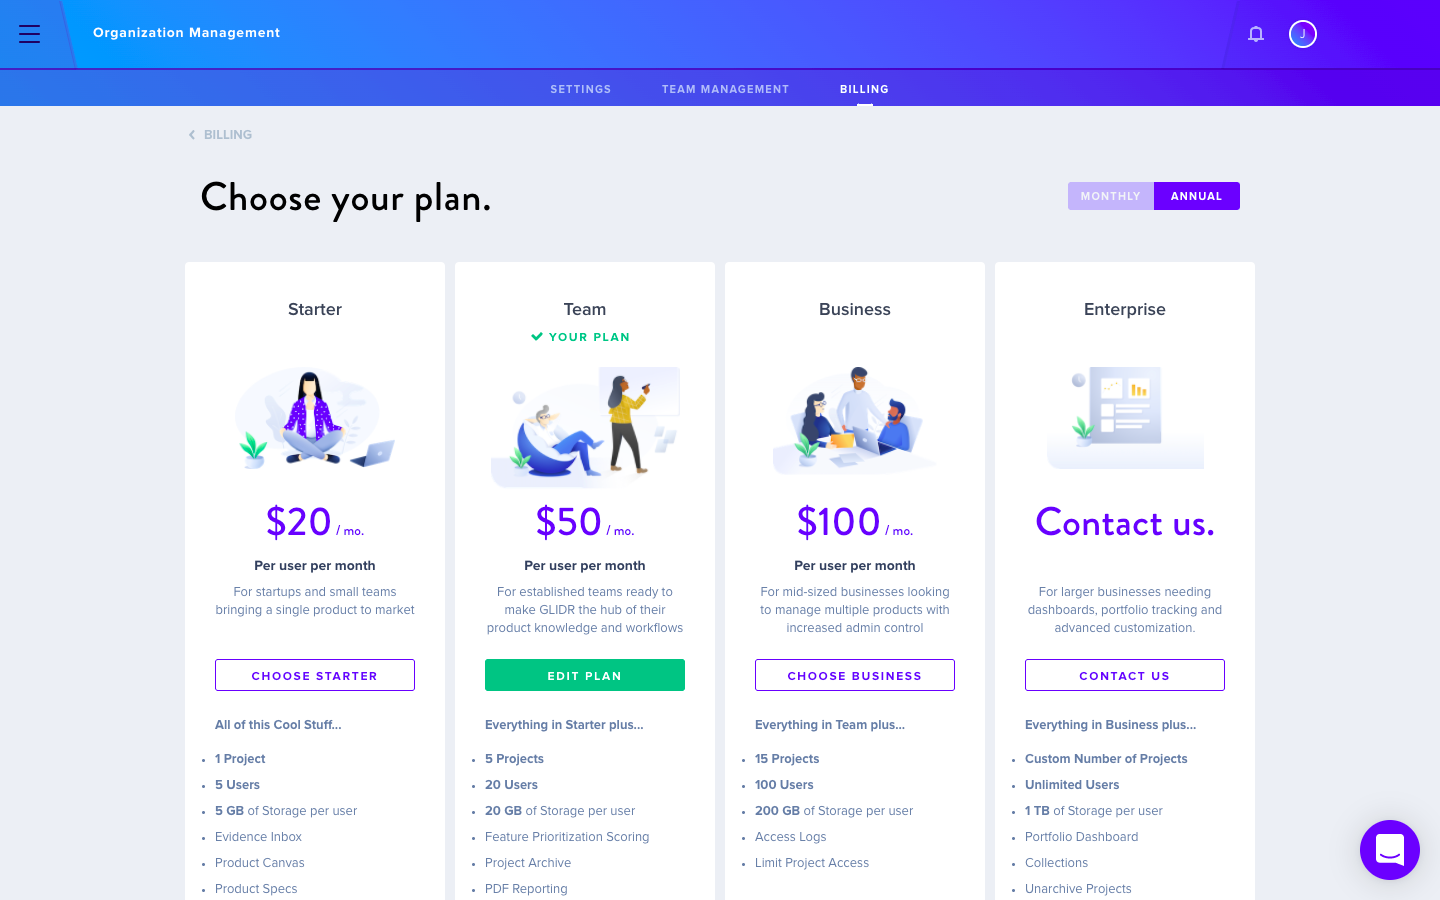
Whether you need to upgrade to get more features, or downsize your number of Projects, you can change tiers quickly by heading to the Billing Page.
Here, you'll be able to select the right tier for you. You can return at any time to change your tier as you grow.
Upgrading to Business
Moving from Garage to Business gives you the ability to run up to four Projects. Because of this, a few things might look a bit different.
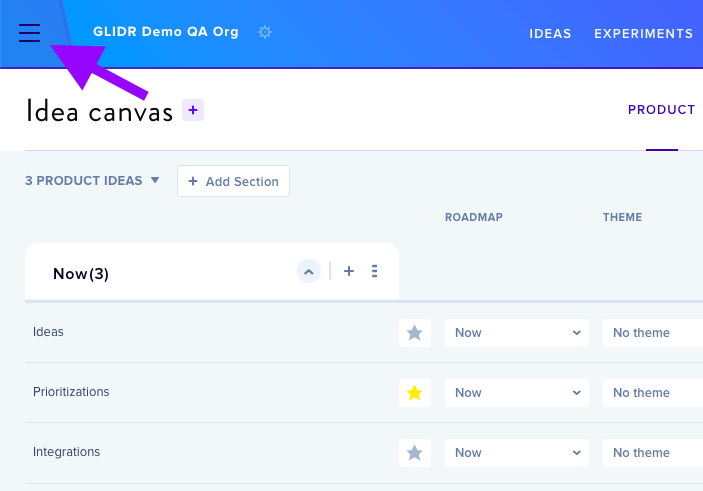
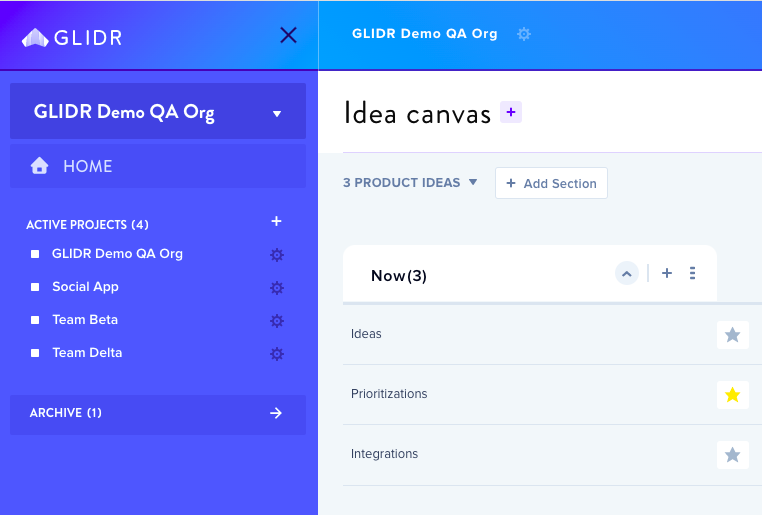
Clicking on the menu in the top left, you'll be able to see your Projects and switch quickly between them. You can also find your Organization Settings and Home screen here.
Learn more about using multiple Projects.
Additionally, as a Business user you unlock organization-wide features like the Portfolio Dashboard, Collections, and the Evidence Locker, along with the ability to limit project access and use the upgraded Pro AI Agent.
Need to run even more Projects? The Enterprise tier (opens in new tab) supports 5+ Projects and 11+ members, and adds the ability to archive and delete Projects, plus organization controls like Access Logs and single sign-on (SSO).
Downgrading to Garage
Don't need multiple Projects? When you downgrade to Garage, you'll be given the option to choose the Project you'd like to migrate to Garage. Your work in your other Projects will be preserved until you're ready to return.
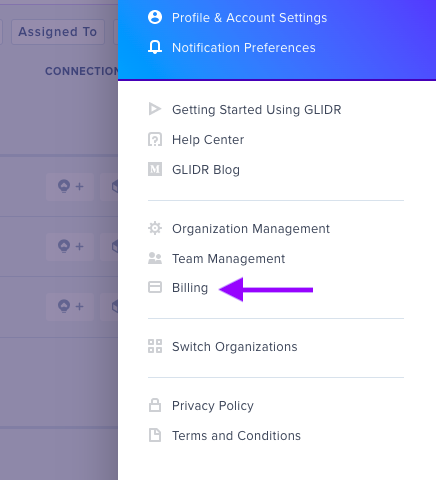
If you're looking for your Organization settings, these can now be found under your Account Menu in the top right corner of your screen. Head here to switch tiers. Under Project Settings, the wheel icon near the top left corner of your Canvas, you can invite Team Members and enable integrations.
If you have any questions about changing tiers, reach out to the team at support@glidr.io.