Transcribe and attach your Zoom recordings in GLIDR.
Note: Make sure the Zoom Integration is set up and audio transcript is enabled in Zoom settings before recording. This feature is only available for Zoom accounts with transcription capability such as Education, Business, and Enterprise tiers.
Setup Instructions
Log in to Zoom, open the GLIDR app (opens in new tab) and log in to GLIDR. Select your Org and Project, then either create a new evidence card or open an existing one and select Start Meeting.
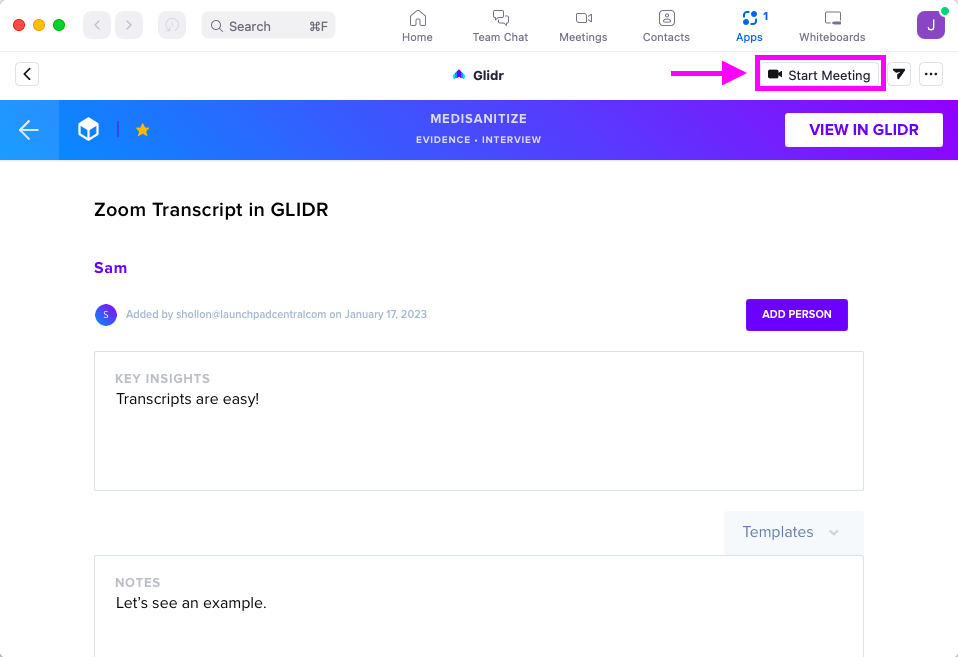
By selecting Start Meeting when a card is already open in the Zoom app, opening up a meeting will automatically open up the last card viewed. Otherwise, you will have the evidence card list selection to choose from.
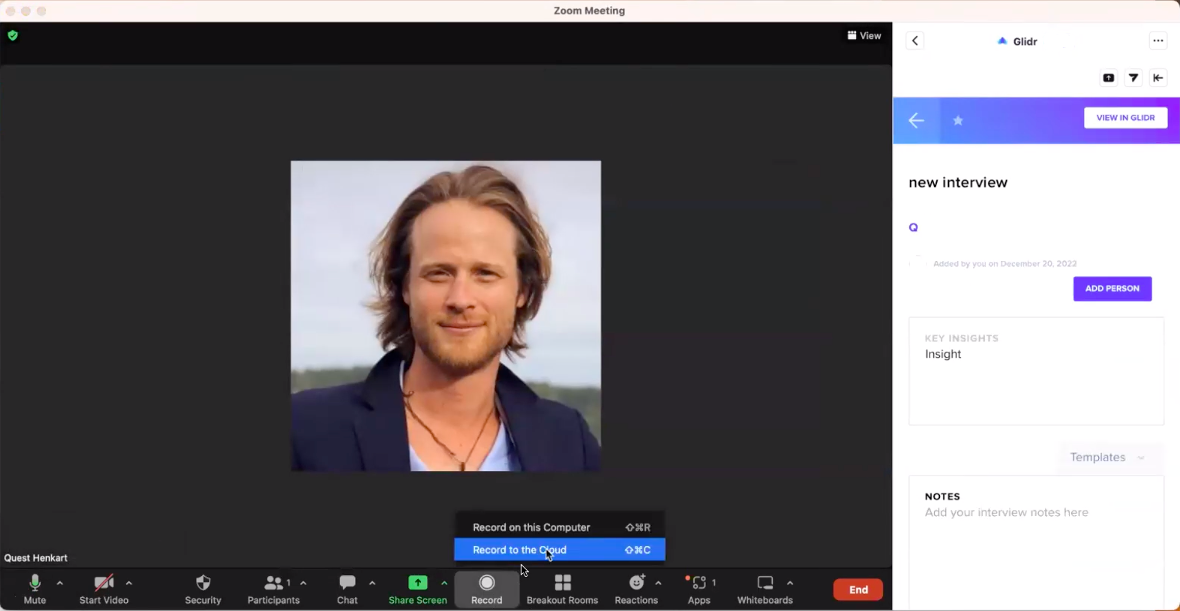
Once the card is open, navigate to Record and select Record to the cloud.
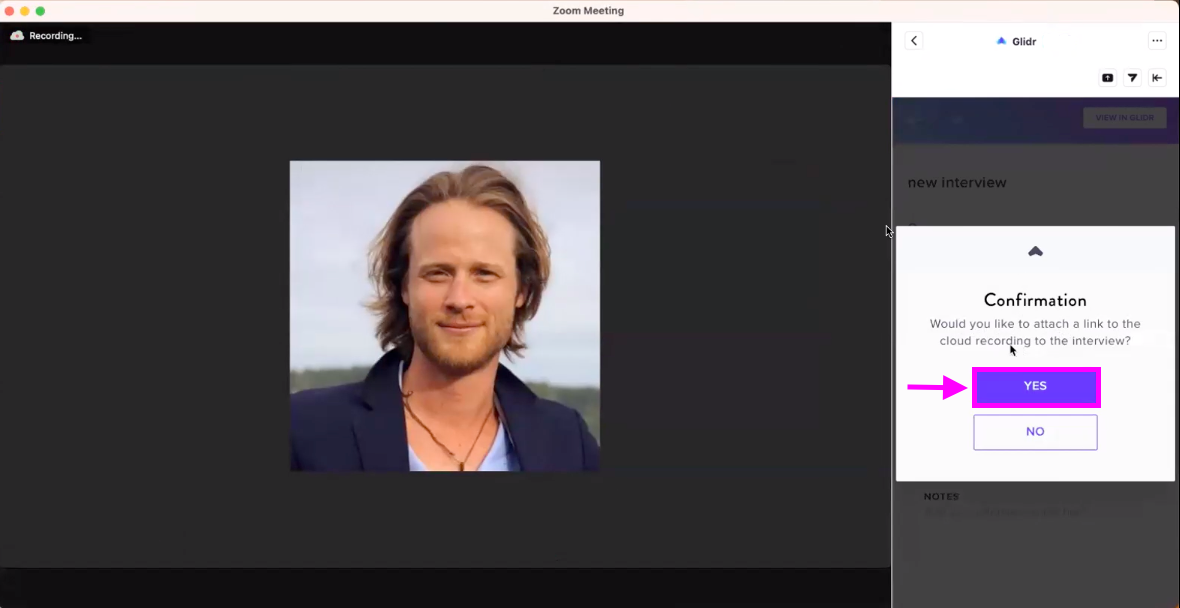
Select YES to confirm and the card will be primed to have a cloud transcription attached.
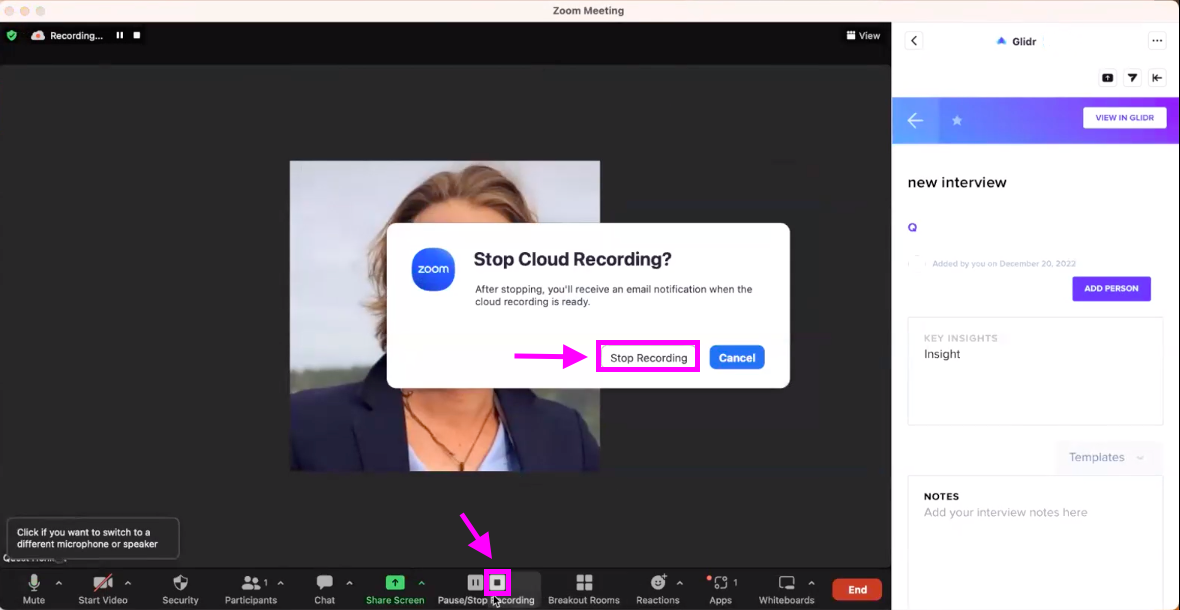
When finished, select Stop Recording and End Meeting For All.
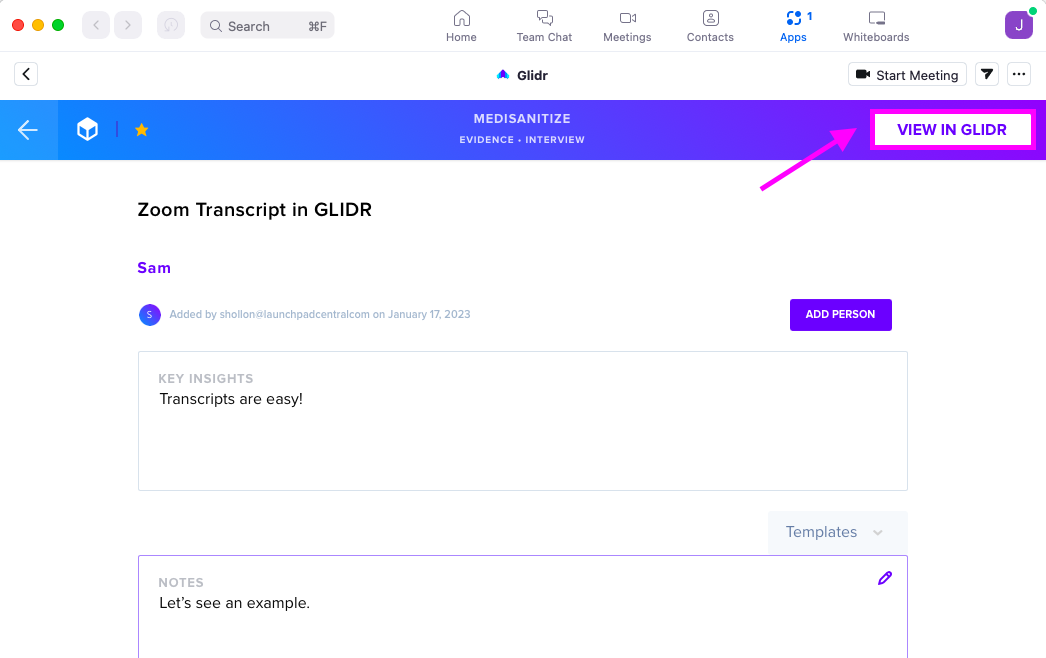
Next, select View In GLIDR which will redirect you to your evidence card in GLIDR.
Access Your Recording
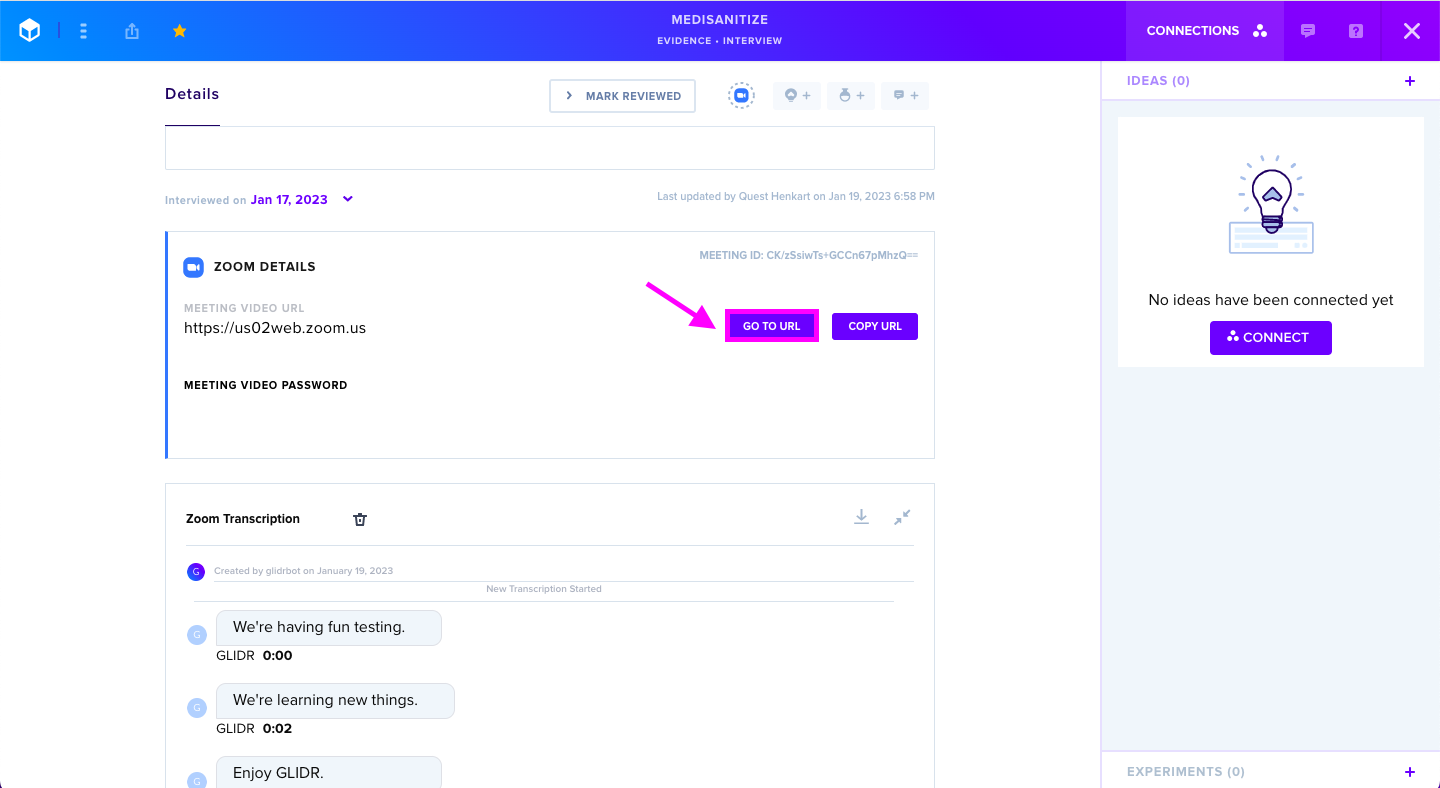
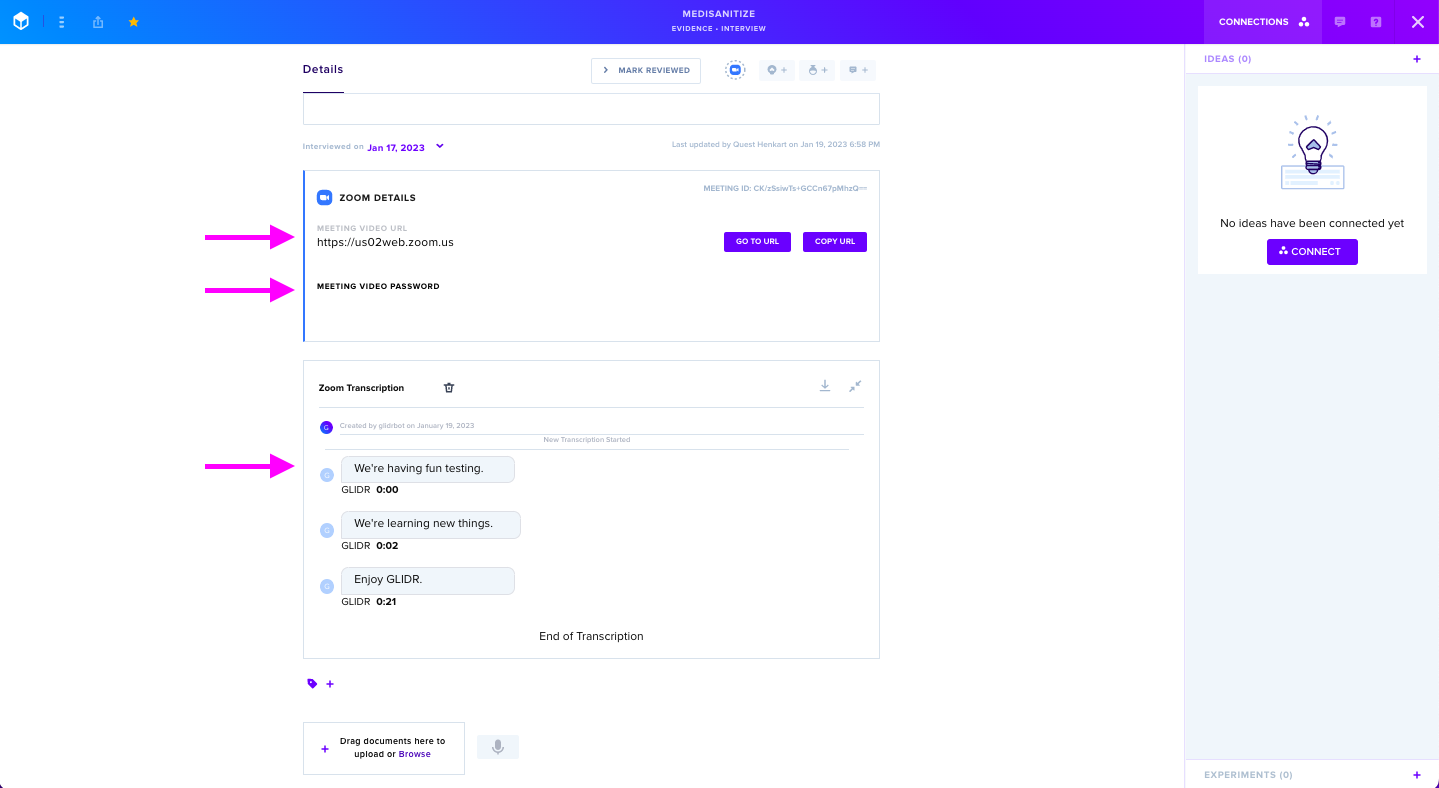
Video details such as the URL and video password will be available. The Zoom transcription will automatically be brought into the GLIDR system.
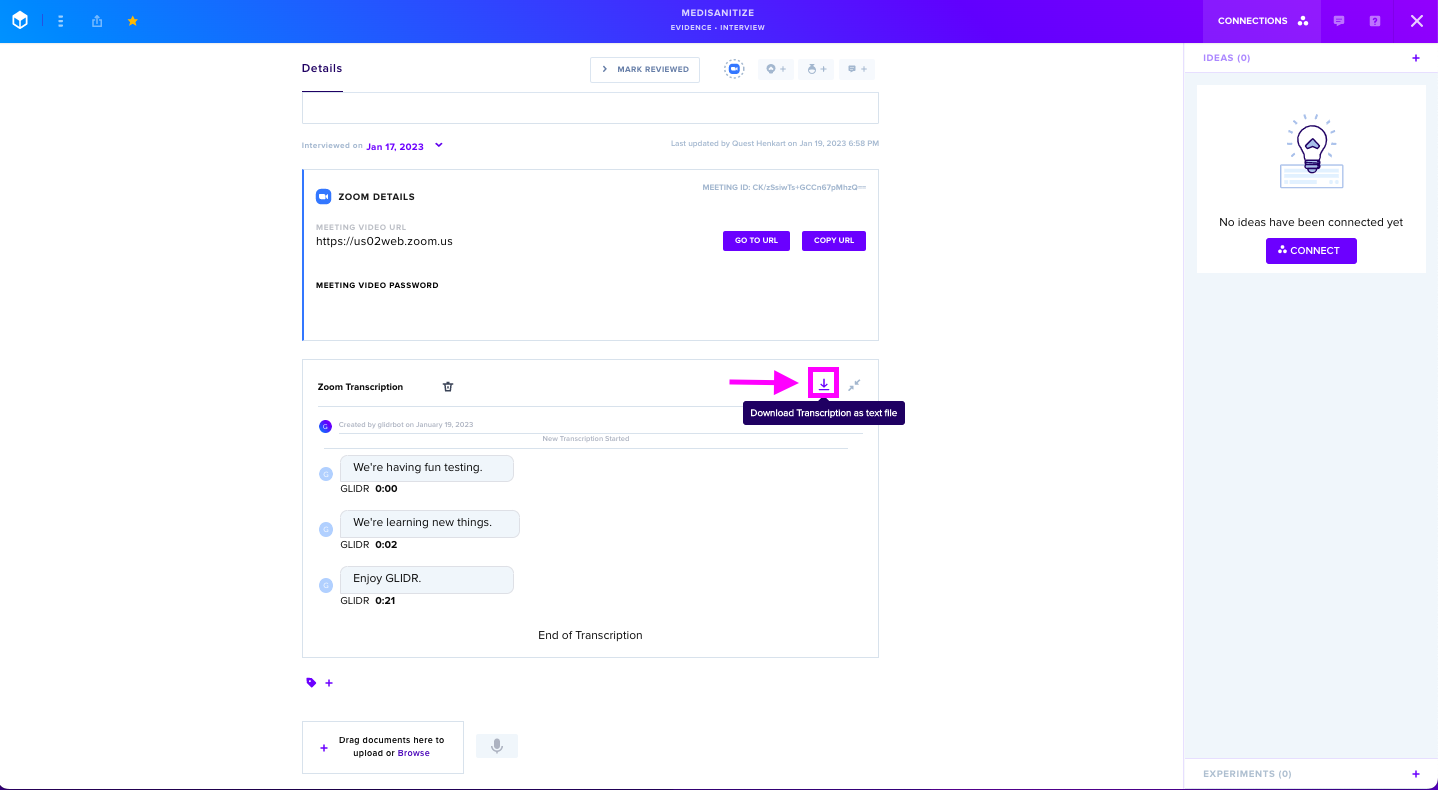
You also have the option to download the transcription via GLIDR.
Alternatively, by selecting GO TO URL, you will be redirected to Zoom with the video recording and transcript.