
Install the Intercom integration
First, head to the Intercom App Store (opens in new tab) to add GLIDR to your Intercom account.
Next, head to Team Settings in your Account menu, then click on Integrations to set up and configure your Intercom integration (opens in new tab). This is also where you'll find Slack and other integrations as they're added.
Clicking on Authorize will take you out of GLIDR and into the Intercom authentication screen. These options indicate the related permissions you're granting to GLIDR, such as the ability for GLIDR to access your Conversations or Tags.
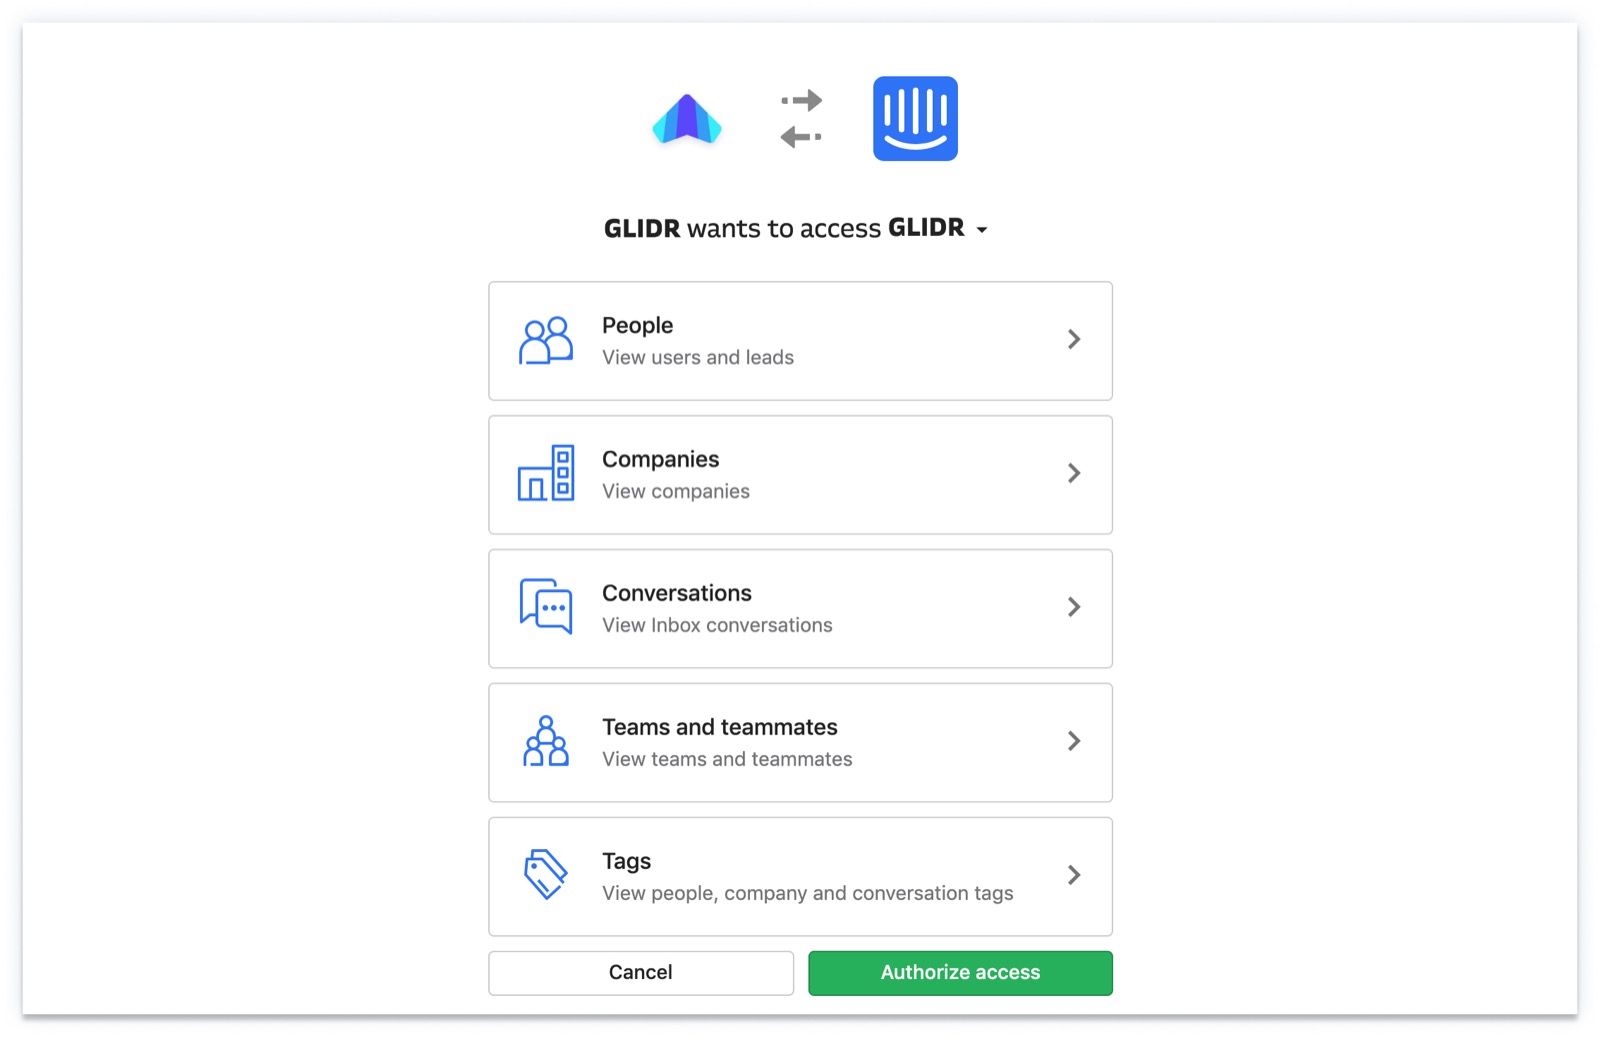
Once you've authorized access to Intercom, you will be taken back to GLIDR to finish setting up the integration.
Configure Intercom and GLIDR
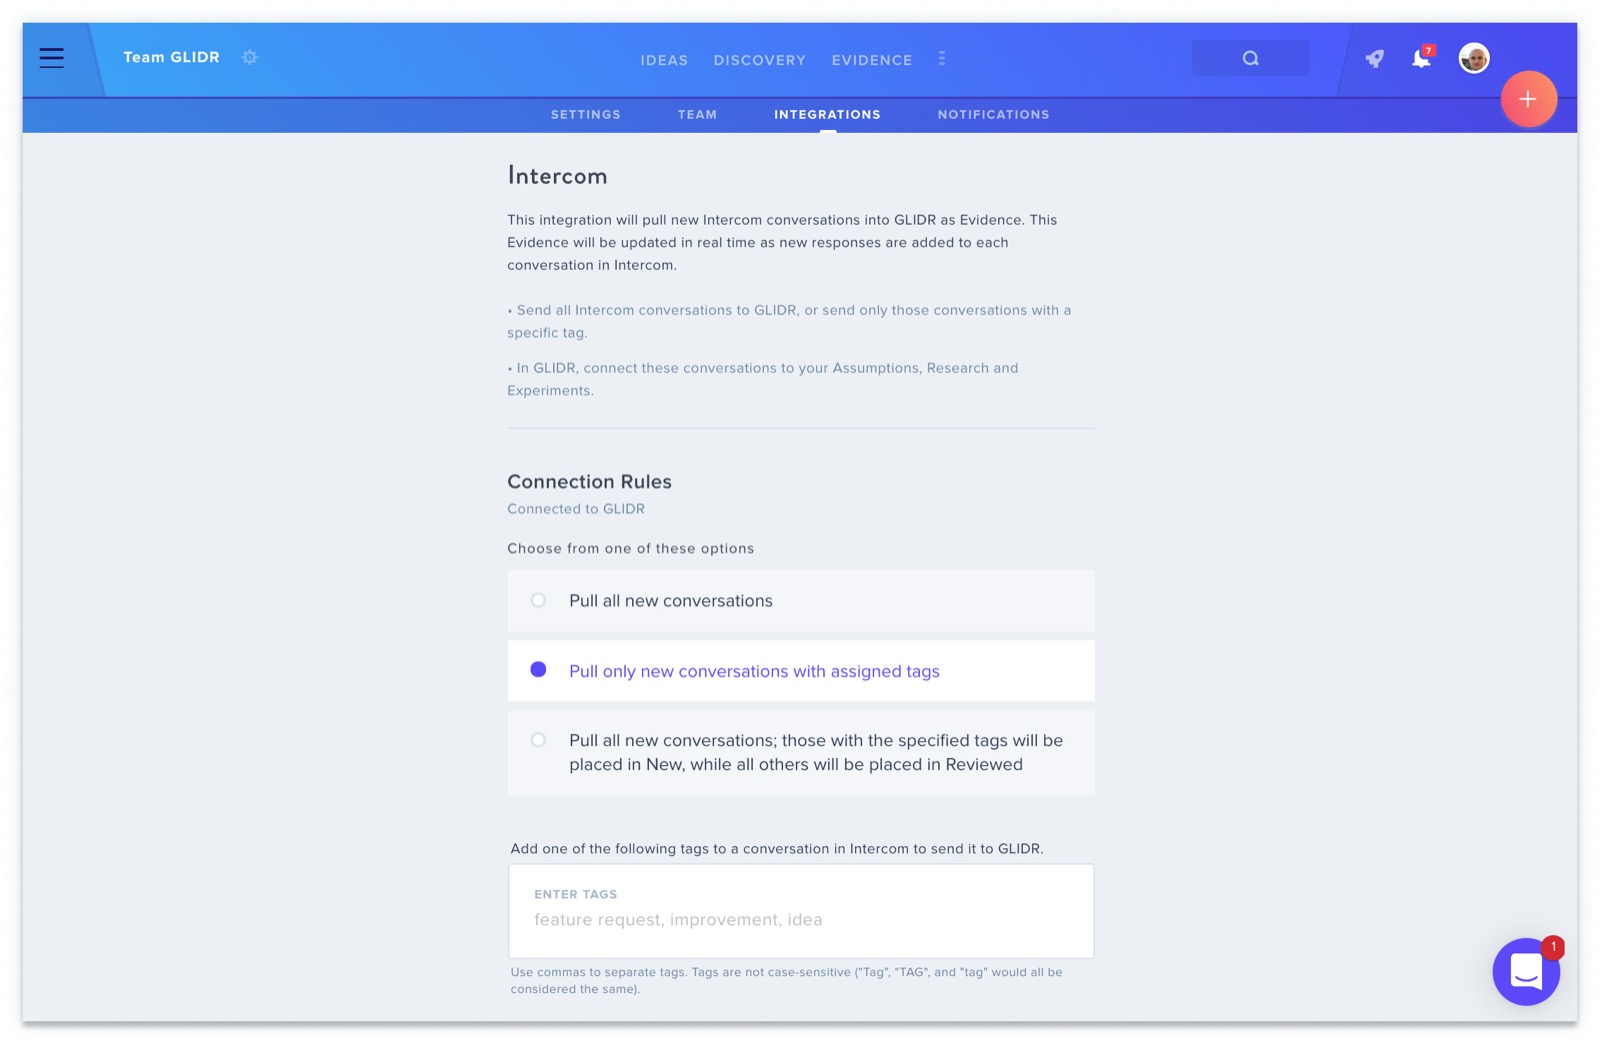
Select the option that best suits your workflow:
-
Pull all new conversations: automatically pulls all new Intercom conversations into your Evidence tab as New evidence.
-
Pull only new conversations with an assigned tag: pulls in only new conversations with chosen Conversation Tags. Learn how to tag conversations in Intercom (opens in new tab).
-
Pull all new conversations; those with the specified tags will be placed in New, while all others will be placed in Reviewed: a hybrid approach where tagged conversations appear in the New tab and untagged ones appear in the Reviewed tab for future reference.
Review Your Intercom Conversations
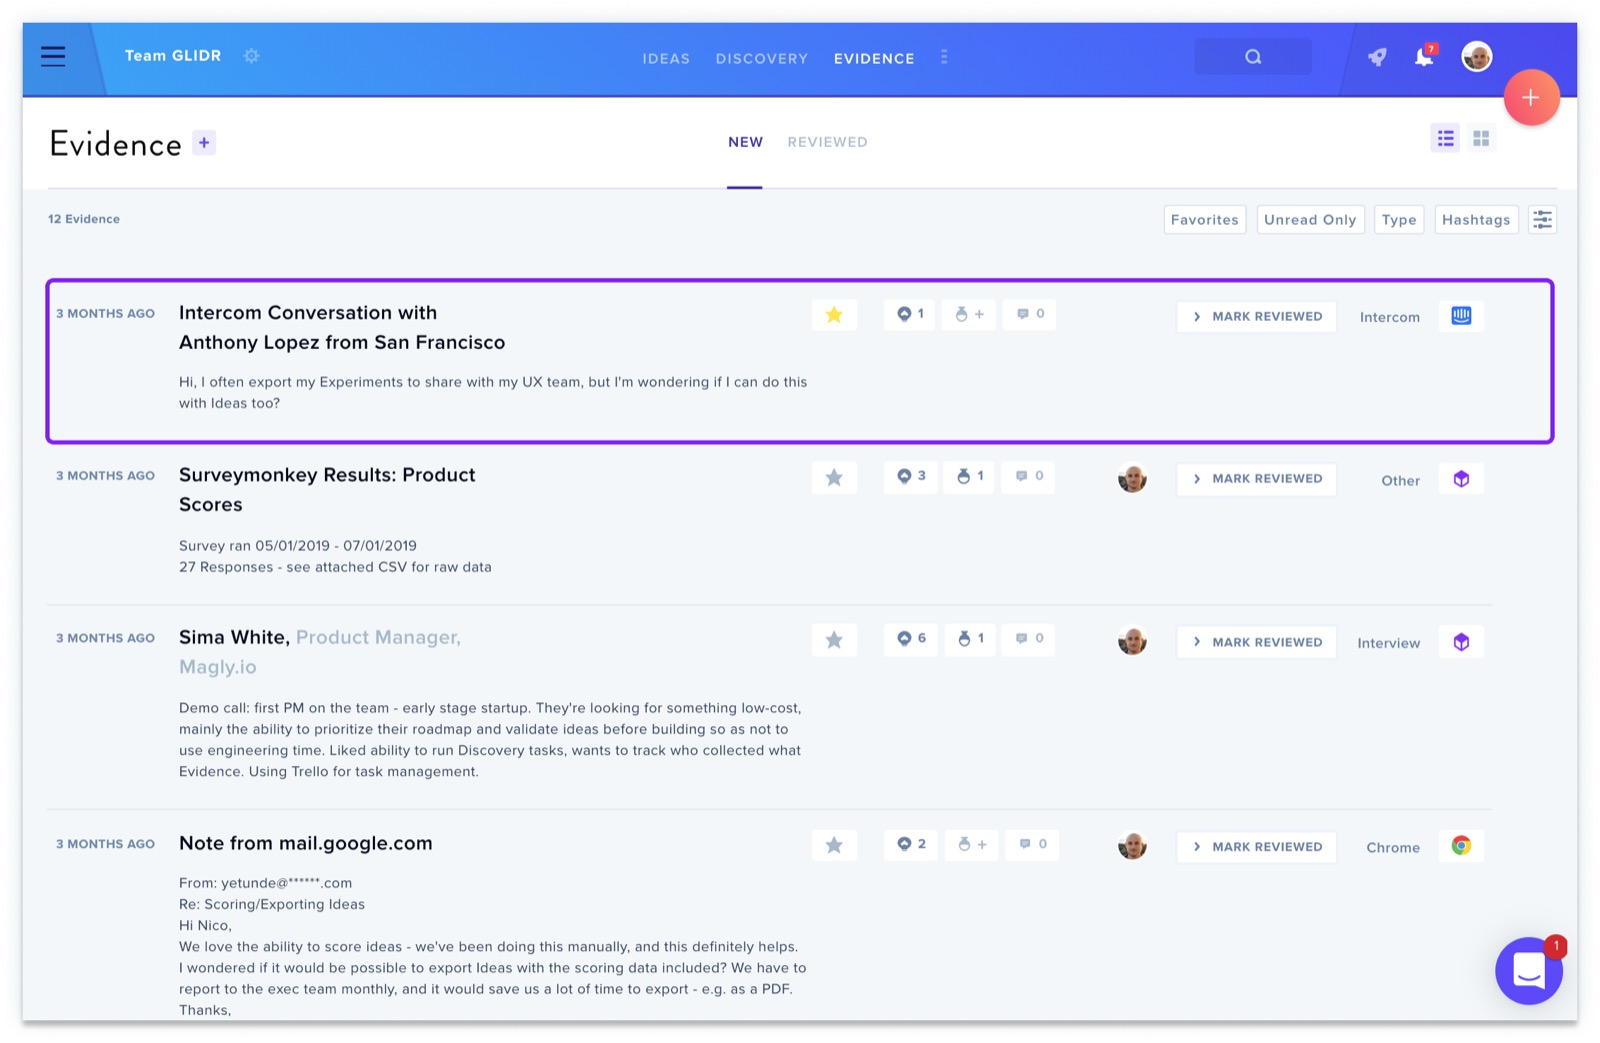
You can quickly review your Intercom Conversations using Evidence List View, which shows how many Ideas and Discovery tasks each Conversation is linked to.
Linking Intercom Conversations to Ideas works the same as connecting any other Evidence — navigate to the Evidence tab and locate the Conversation you'd like to connect.