
Overview
The GLIDR & Jira Integration enables seamless movement of ideas from roadmap to delivery while maintaining context. This guide walks through setup, configuration, and troubleshooting steps.
Setting up Jira from GLIDR
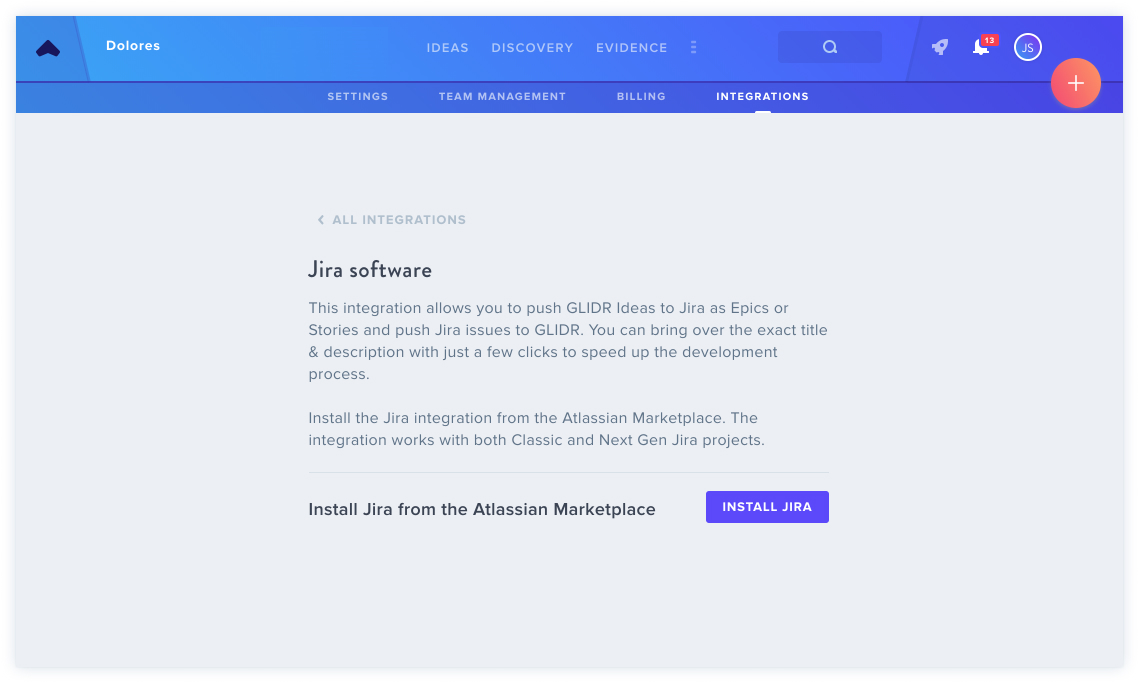
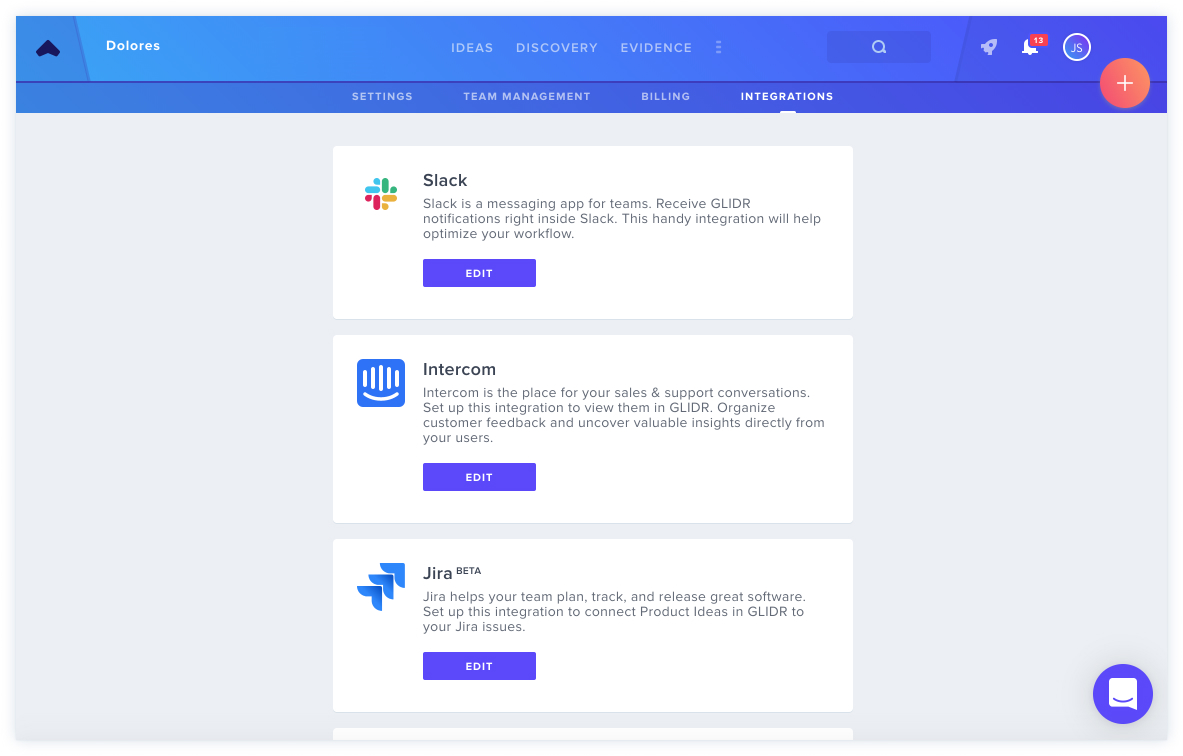
Access the Jira integration through your Account Menu > Integrations. The integration is available alongside Intercom, Slack, and Google Chrome integrations.
Note: Organization Owner status is required to configure integrations.
Selecting Install Jira directs you to the GLIDR for Jira app in the Atlassian Marketplace.
Install the GLIDR App
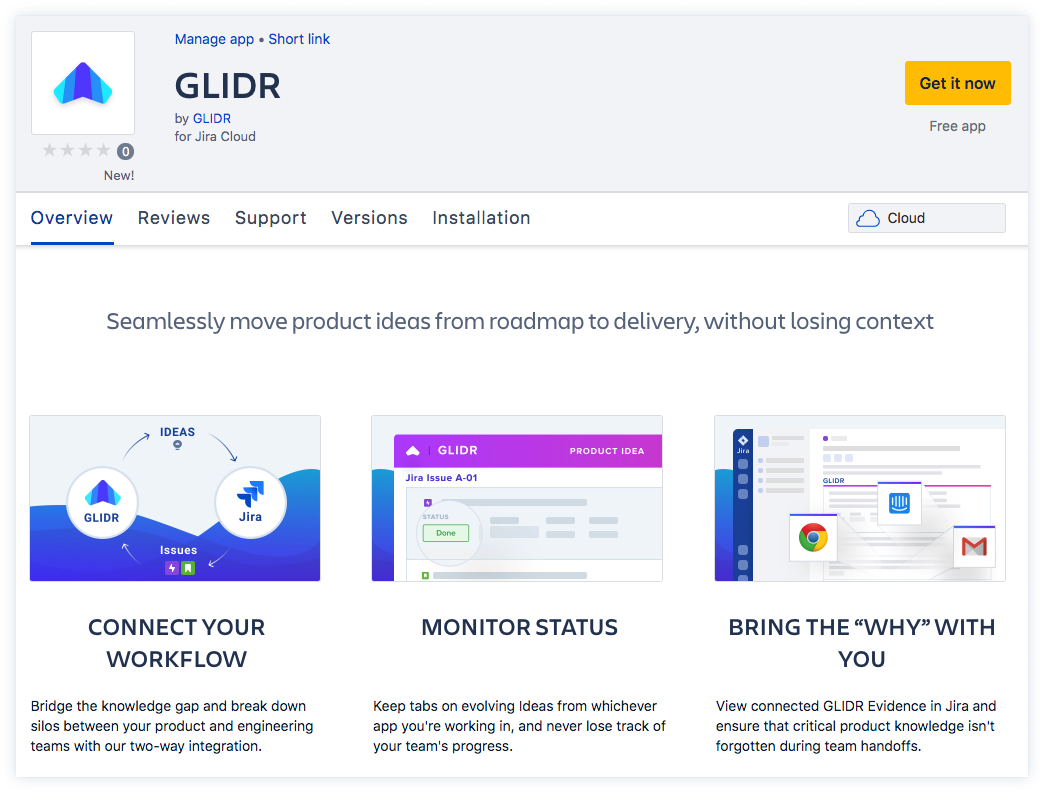
On the Atlassian Marketplace, click Get it now. The integration works exclusively with Jira Cloud (not Server).
Setting up GLIDR from Jira
After linking GLIDR to Jira, select which GLIDR Project connects to your Jira Project.
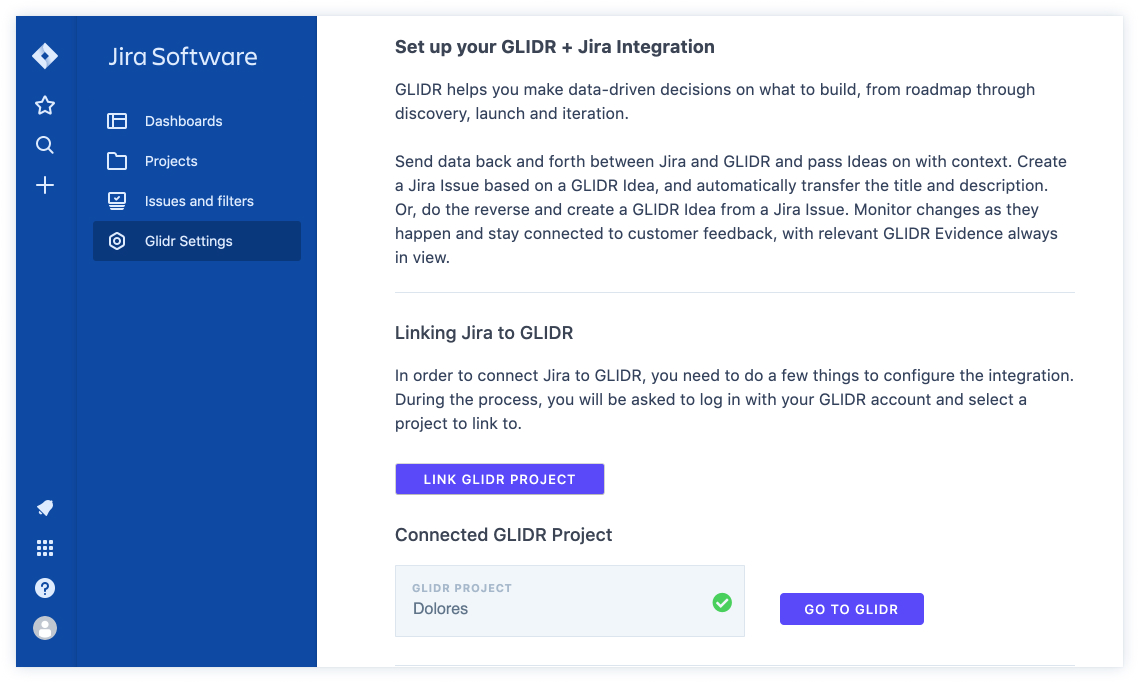
Configuration Requirements:
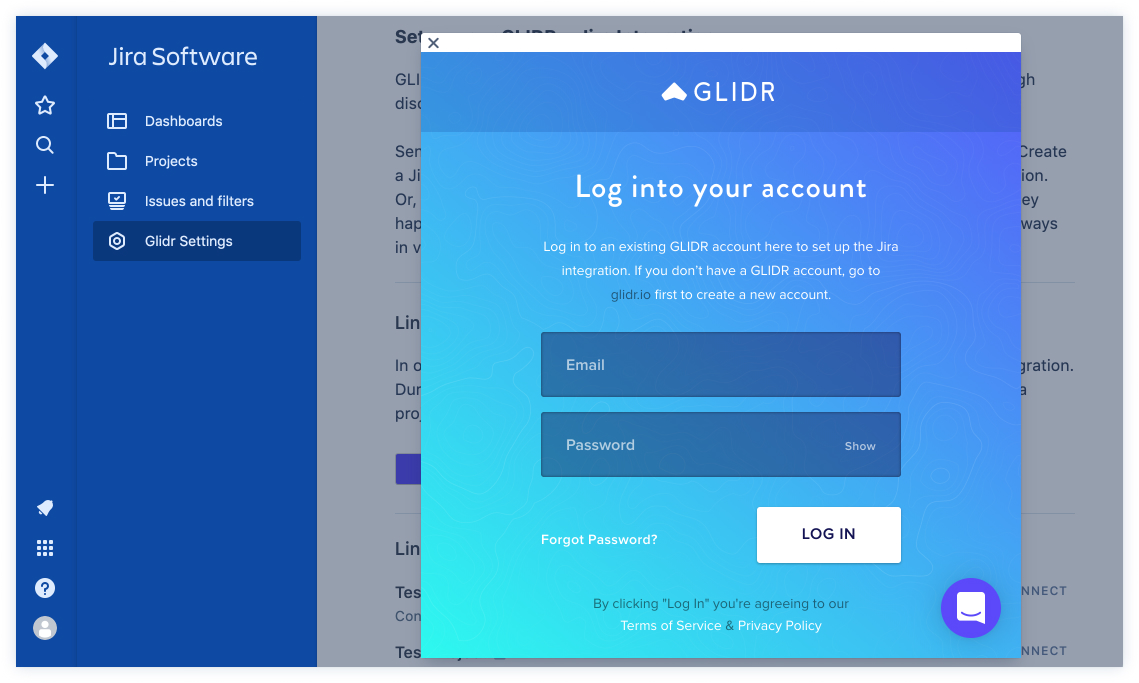
- Log in to GLIDR
- Select the Project to link
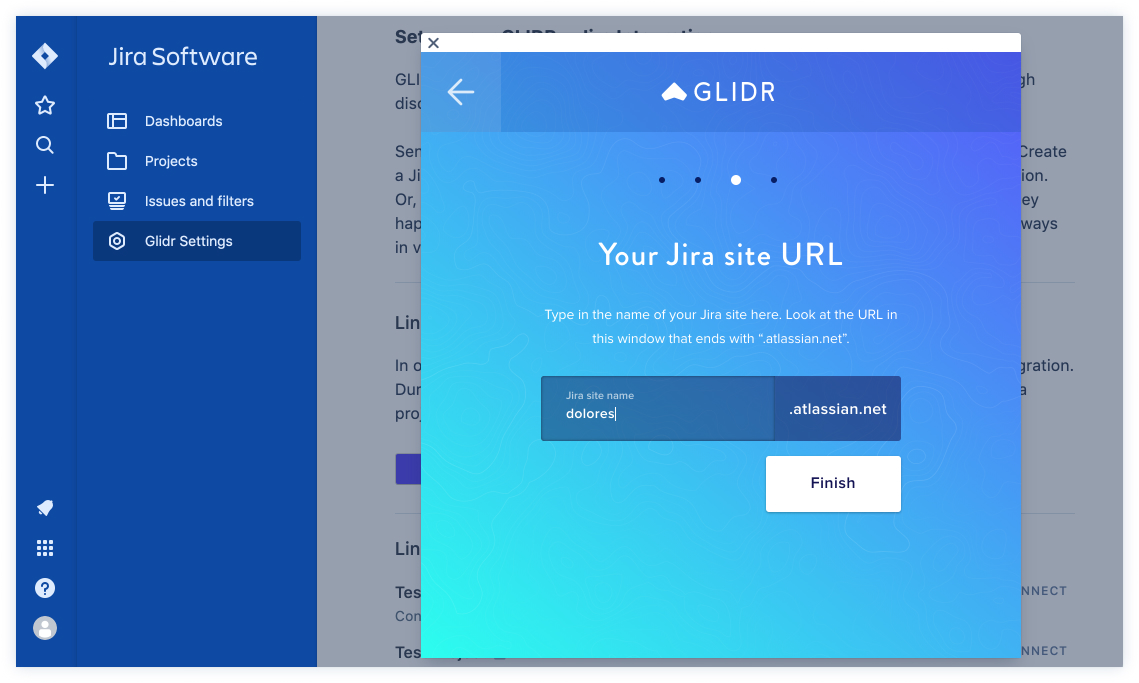
- Enter your Atlassian URL (found in the setup window, ending with .atlassian.net)
Note: Multiple GLIDR Projects can link to one Jira Project, but only one Jira Project per GLIDR Project.
Upon completion, a green checkmark appears next to your Project with a link to GLIDR.
Removing the Jira Integration
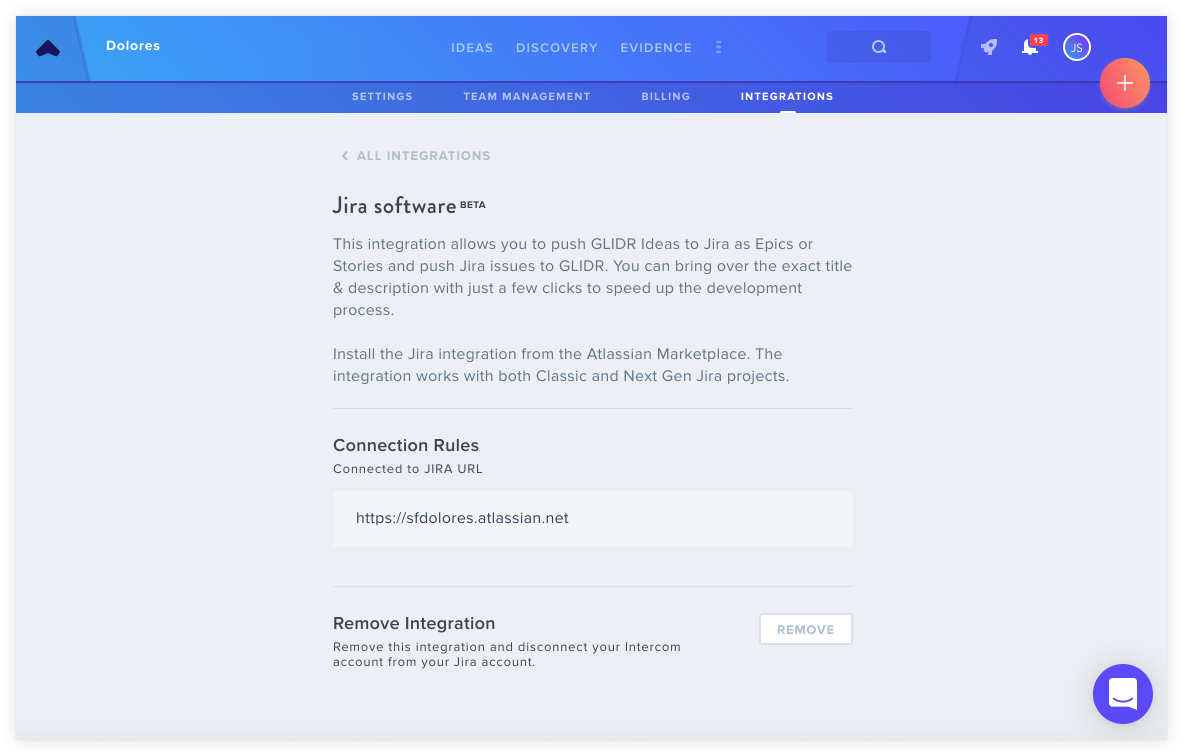
Navigate to Integrations, select Jira, view your connected Project, and click Remove Integration.
Troubleshooting
For insufficient Jira permissions, consider these solutions:
- Request your Jira Site Administrator upgrade your permissions
- Invite a Site Administrator to your GLIDR organization to implement the integration, then disable their account afterward